
In order to successfully Transfer inventory out of your Canix instance, you must register an Outgoing Transfer in Metrc. After creating a Transfer directly in Canix (usually created from a Sales Order), follow the steps in this article to complete the process of registering the Transfer Template in Metrc.
There are a few actions that must be finished in Metrc and cannot be done just in Canix. This is a Metrc limitation as they do not allow third-party integrators, such as Canix, to submit this data directly to Metrc.
In this article, we'll cover:
Register an Outgoing Transfer in Metrc
First, Create a Transfer from a Sales Order in Canix. After creating the Transfer in Canix, log into Metrc to register your Draft Transfer Template in Metrc.
- Log into Metrc
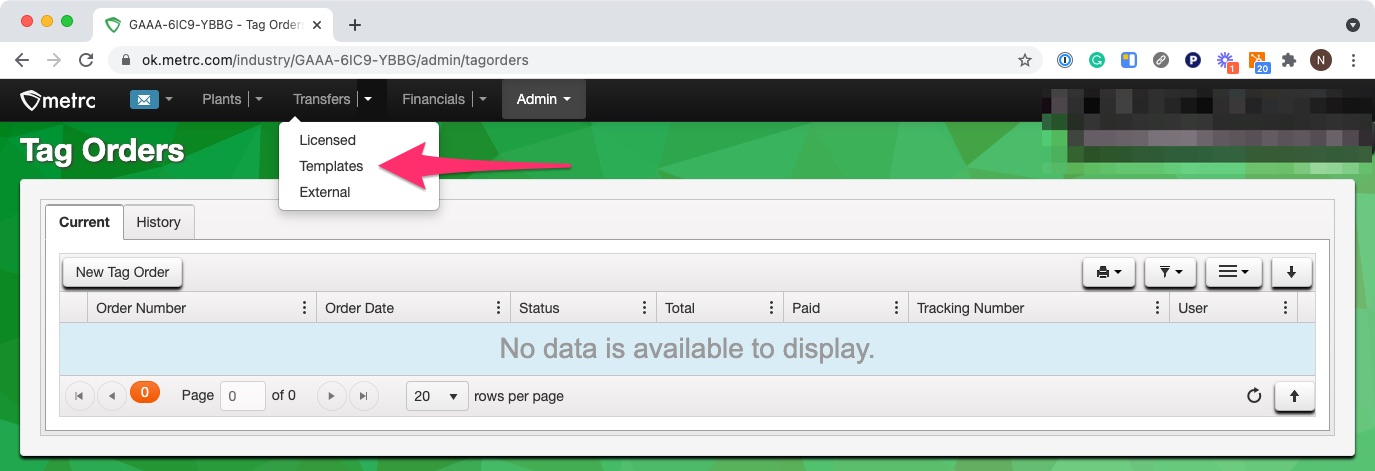
- Navigate to Transfers > Templates
- Find the Transfer you just created and select Use on the far-right side
- The Transfer will open with the information you enter during creation in Canix; review all details to make sure everything appears correct and complete
- Package Tags will auto-populate
- Verify that everything looks correct and complete
- Select Register Transfer to turn the Template into a Licensed Transfer
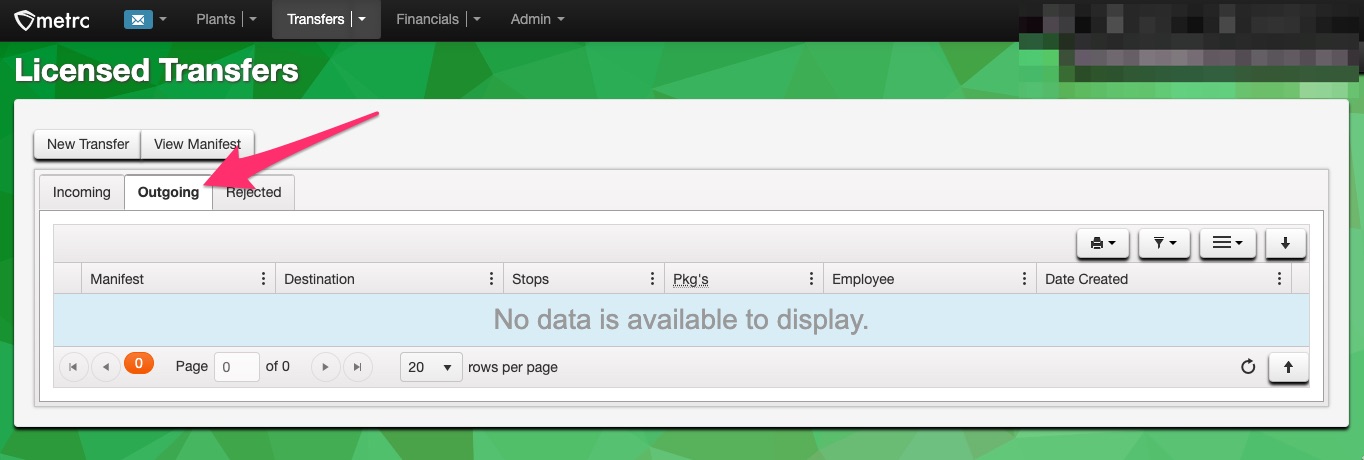
- Navigate to Transfers > Licensed > Outgoing to view your Transfer
After your Transfer is Registered, it will be sent to the Destination Facility's Metrc account and the Packages on your Transfer will move from Active to In Transit. These Packages will be fully removed from your Metrc Facility once the Destination Facility clicks Accept.
Print Metrc Transfers
After registering your Transfer in Metrc, you'll need to print the Manifest directly from Metrc.
- Log into Metrc
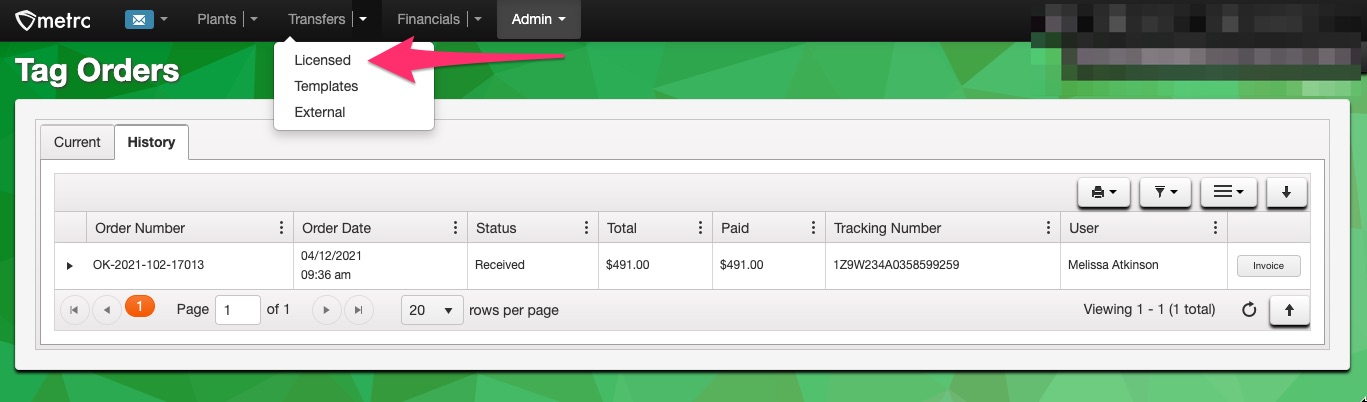
- Navigate to Transfers > Licensed
- If this Transfer was made to a non-Metrc licensee, navigate to Transfers > External
- Click on the Transfer you wish to print to select it > select View Manifest up above
- Your Manifest will open in a new window in PDF format where you can download or print it