
In this article, we'll cover how to accept Incoming Transfers into Canix. The process will be different depending on the type of account you have:
Metrc Customers
Our Metrc Integration allows you to create the perfect template for transferring cannabis packages between licenses. You can find more information on creating Draft Outgoing Transfers in Canix here.
To add the Inventory (seeds, clones, flower, shake/trim, etc), you will need to accept the transfer into your facility in Metrc. This will allow the package to enter Canix so that you can manage it by either creating plantings from a package or by using Split Packages to creating new child packages.
In Metrc:
- Log in to Metrc and select the correct License if you have more than one
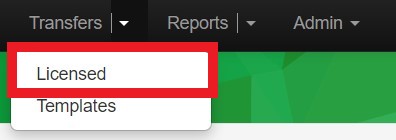
- Navigate to Transfers > Licensed
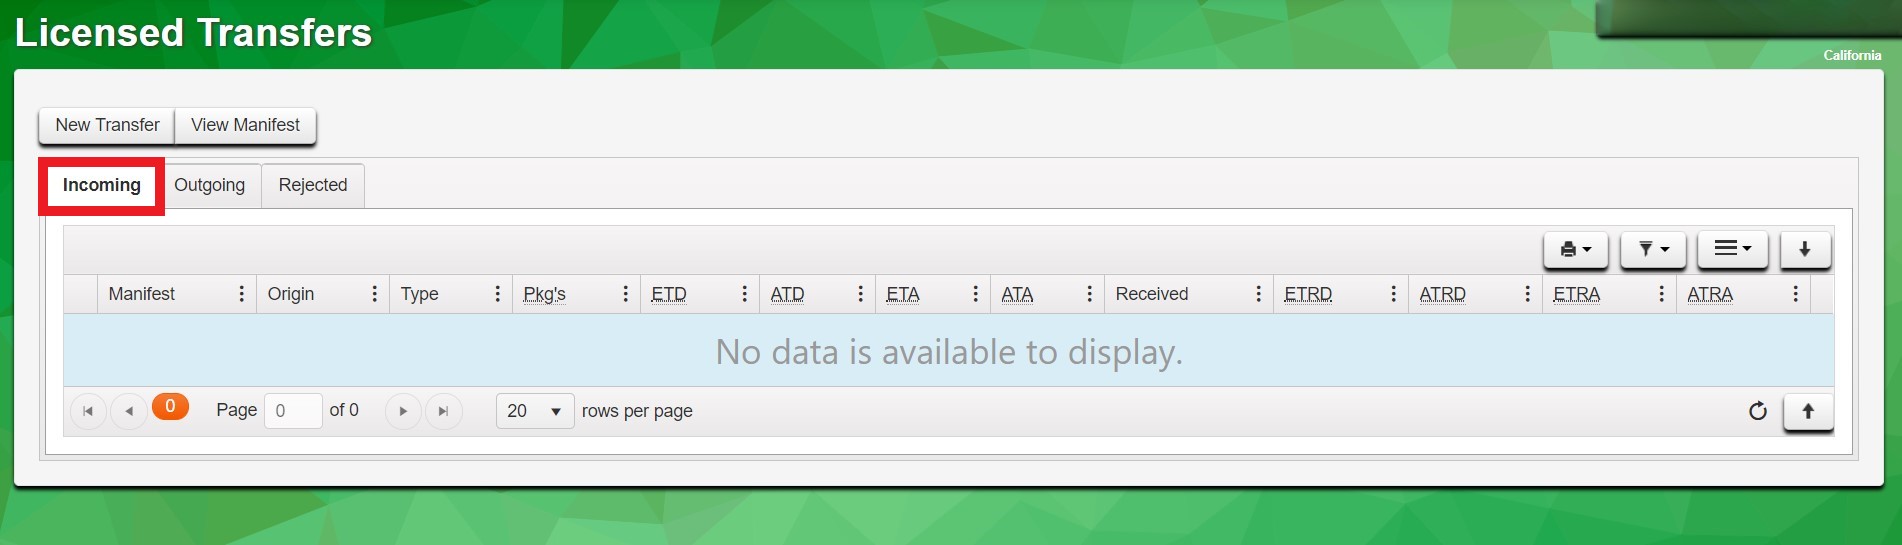
- Select on the Incoming tab
- The Incoming tab only shows Incoming Transfers for the facility that you are currently in
- The Incoming tab includes counts of overdue Transfers in red while the total outstanding Transfers are in black
- Locate the Transfer that you wish to accept
- On the far right side of the screen, select the Receive button

- Clicking the Receive button does not automatically accept the Transfer but rather launches the Receive Licensed Transfer page, which allows the recipient (you) to review the details, adjust the quantity received if needed, reject the entire Transfer, reject specified packages in the Transfer, or accept the Transfer as it is
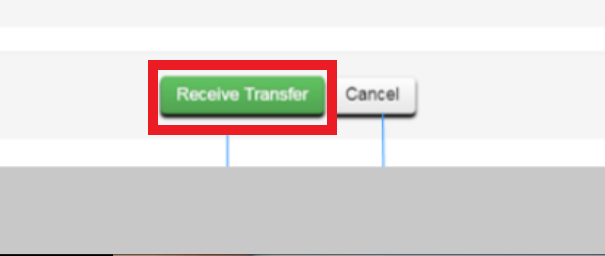
- If the contents of the Transfer look to be correct, select the Receive Transfer button; otherwise, make the required edits
- After receiving it, these packages will populate in your Metrc account
- This update will be pulled into Canix in our 10-minute sync from Metrc. However, if you'd like to see these changes reflected in Canix immediately, please return to Canix and Refresh Metrc Data. For more info, see Data Sync Between Metrc and Canix.
Non-Metrc Customers
Accepting Incoming Transfers into your non-Metrc Canix account allows you to create new packages in your facility with a defined Source Facility. Follow the steps below to create an Incoming Transfer.
On the Web Application:
- Navigate to Inventory > Incoming Transfers
-
Select + Accept Incoming Transfer
-
Complete all required fields:
- Incoming Transfer Name: Typically "[Source Facility Name] + [Received Date]"
- Source Facility: Select the Facility you are receiving these packages from; if it has not yet been created in your Canix account, click the + to add it
- Received Date and Time
- Select Create Incoming Transfer
-
Now that you have created the Incoming Transfer, select Add Package to Incoming Transfer to create and log the packages being received
-
Create the Package associated with the Incoming Transfer by entering the required fields:
- Tag: This will auto-populate with the next available package tag
- Item: Select the Item to use on the package
- Weight and Weight Unit: Quantity and Units of this package
- Price (optional): Optionally, you may include the price for this package
- Production Batch Number (optional): Optionally, list a PB Number
- Internal Lot ID (optional): Optionally, set an Internal Lot ID for comprehensive reporting
- Confirm all details are correct, then select Create Package
- If you have additional packages to add, select Add Package to Incoming Transfer again and repeat the steps until all Packages have been added
- Once all packages have been created, review the Incoming Transfer's contents to confirm everything is correct
-
Select Submit
- To view your new packages, navigate to Inventory > Packages > View: Active
- You can now print tags to label the packages with their new tag numbers by selecting the packages and using Actions > Print Labels, or by navigating to Tags & Labels > Print Labels > Custom